
The following is my experiences with installing and replacing the pilot bushing in my 1968 Chevrolet Corvette 327. Hopefully, the information will prevent someone from making my ‘mistakes’ and benefit from my learnings!
First, a little history is in order! The ’68 Corvette was purchased as a ‘fixer upper’. The car came with a 350-crate engine installed. But I did get the original block, heads, crank, and miscellaneous components. Donna and I drove the car ‘as is’ for a few years. (I was fixing ‘other’ things) I initiated the engine rebuild in the spring of 2021 and finished the engine in August 2021.
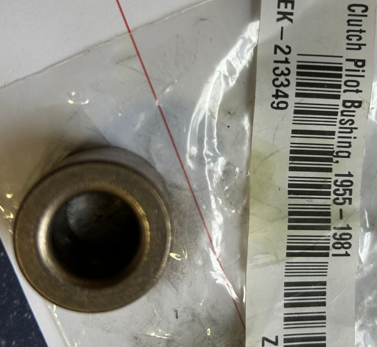
Now, the pilot bushing was replaced during the rebuild of the engine. The old original bushing was removed using the ‘clay’ method. The clay method consists of filling the cavity with clay and tamping it in until solid. The pressure pushes the bushing out of the bore. Unknowingly, I installed an Oilite_Sintered powder metal bushing instead of a bronze bushing.

So, the four speed transmission started having an issue going into reverse shortly after the engine installation. I consulted with an expert (JD) on classic car trannies. He suspected that the input shaft was ‘hanging up’ in the pilot bushing and not allowing the gears to stop spinning. We decided to replace the input shaft and rebuild the transmission and replace the pilot bushing. To be honest, this is when I discovered the differences in bushings.
Now, Both Oilite and Bronze are technically OK. But there are differences in the durability of each design. Oilite bushings include bronze, steel, and other metals. Consequently, the bushing is a lot ‘stronger’ than a Bronze only bushing. Therefore, oilite will last a lot longer than bronze and doesn’t require grease. But the hoop stress of oilite bushing would be a lot higher especially if tolerance stackups are at max interference. I chose to install a bronze bushing for the following reasons:
A bronze bushing should last 100K miles and is original equipment.
The yearly mileage on this car is low.
Easier future repair, if required.
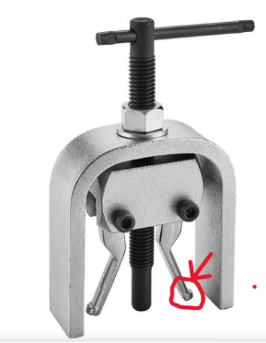
But first, I needed to remove the pilot bushing. I thought this would be an easy step! Well, not so much!! There are several methods to remove the bushing. I tried all of them in order of ‘easiest’ to ‘difficult’. So, I retried the ‘clay’ and ‘tamping’ method first…..wouldn’t budge it. Then, I made a simple puller out of a long bolt, washers, and a nut. It bent and wouldn’t budge the bushing! Now, I’m getting concerned!! ☹ Next step, I borrowed JD’s Snap-on puller. I broke the little tabs on the puller!(see pic) Wow, the bushing is really in there.
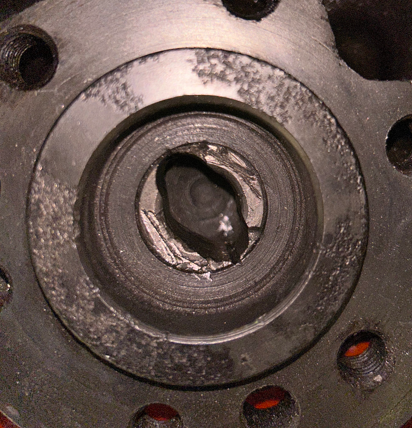
So, now, the last and most stressful method is to use a die grinder to slowly grind the ID of the bushing until the hoop stress is reduced and U can tap out the pieces. All the while managing NOT to grind on the crank surface. Mine came out in three pieces!!
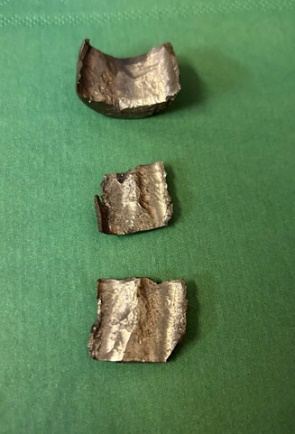
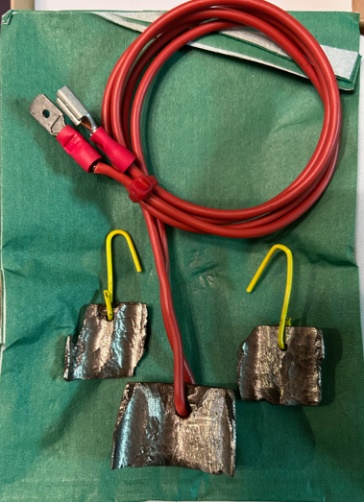
I decided to make a set of earrings and necklace out of the pieces for my wife’s valentines day gift! 😊 She was thrilled!! Well, maybe not…..Luckily, I bought other stuff too!! U know….She has yet to wear them!!
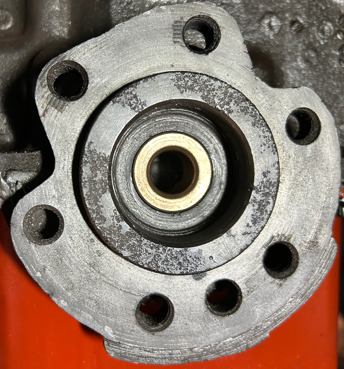
The Bronze bushing installed appropriately. The transmission was re-installed. The ‘grinding’ going into reverse was fixed. Another step in the ‘fixer upper’ was complete!
The next step will be the removal and replacement of the trailing arms. Who knows what we will learn on that project!